
How To Install An MF Ceiling

Here is a step-by-step guide to install a metal frame ceiling for
plasterboard:
- Measure the ceiling: Measure the length and width of the
ceiling and calculate the number of metal components required.
- Cut the metal tracks: Cut the metal tracks to the required
length and label them according to their position in the room.
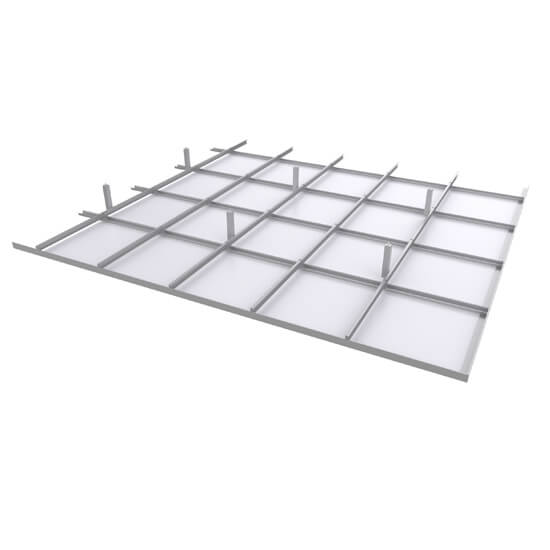
- Install the MF17 Hanger
Angles: Fix the MF17 angles to the ceiling joists using angle brackets, screws
and MF11 Nuts & Bolts. Ensure that the angles are level and are the correct
length to fix your primary channel to.
- Install the MF7 Primary Channels:
Fix the channels to the hanger angles using wafer
head screws. The furring channels are then connected to the primary channel
using MF9
Furring Clips, to provide a surface to fix the plasterboard to.
- Cut the plasterboard: Cut the plasterboard to the required
size and label them according to their position in the room.
- Install the plasterboard: Fix the plasterboard to the
furring channels using suitable length screws. The plasterboard should be
slightly recessed from the metal tracks.
- Finish the joints: Fill the joints between the plasterboard
sheets with joint filler and sand them smooth.
- Paint or wallpaper: Once the joints have been finished, you can paint or wallpaper the ceiling as desired.
Note: This is a general and brief guide and specific
instructions may vary depending on the type of metal frame you are using. It is
recommended to consult the manufacturer's instructions before installation or
give our expert team a call today on 01253 864902.